Process
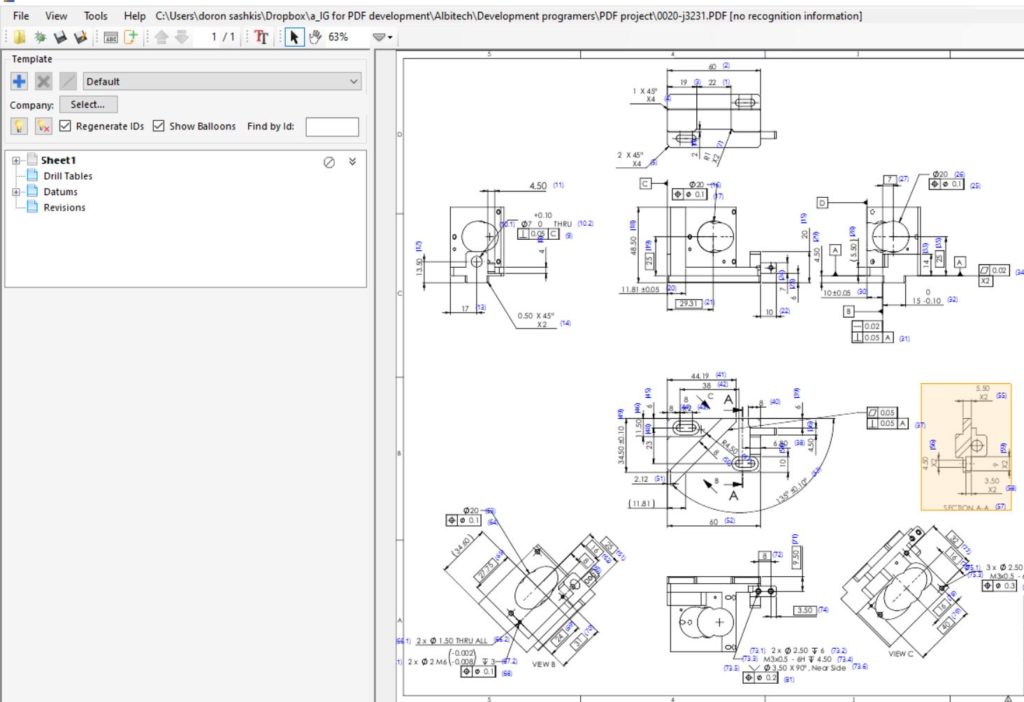
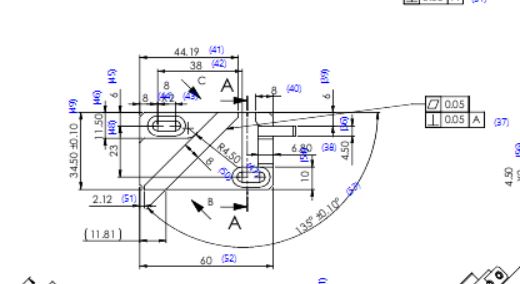
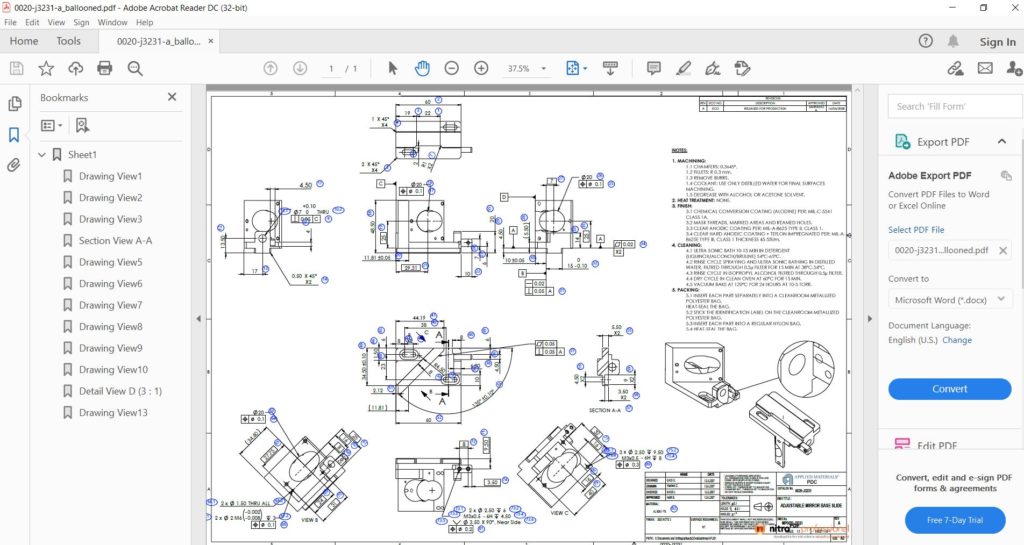
InspectionGeni builds a tree indicating all the dimensions in the drawing. The dimensions are sorted according to sheet, view, and surrounding views in CCW or CW direction assisting the user to locate the dimensions in the inspection report. The dimensions in the tree are associated with the dimensions on the drawings. so when you will move to a dimension on the tree, the dimensions on the drawing are highlighted, and vice versa.
Every dimension has a dialog in the property manager and you can enter the information you need to add, for example, map location, tolerance and measuring tools.
In the Information area, you can add before counting dimensions, you can set attributes that will help you to filter the dimension for the in-process reports.
Inspection Geni allows users to set global tolerances. You can set dimension tolerance and family name, then assign the type of the tolerance related to the number of decimal points or range. Any change in this tolerance will immediately effect on the tolerance you see in the dimension info dialogue and in all the printout documents.
That’s it! You are done! You did-it with InspectionGeni for PDF.


